Sitecore JSS with Next.js - Creating your first component
In this article, I share my experience in creating my first component for a Sitecore JSS with a Next.js solution. We must create the component in Sitecore and configure the corresponding component on the front end.
Creating the component in Sitecore
Open the Content Editor of your Sitecore instance.
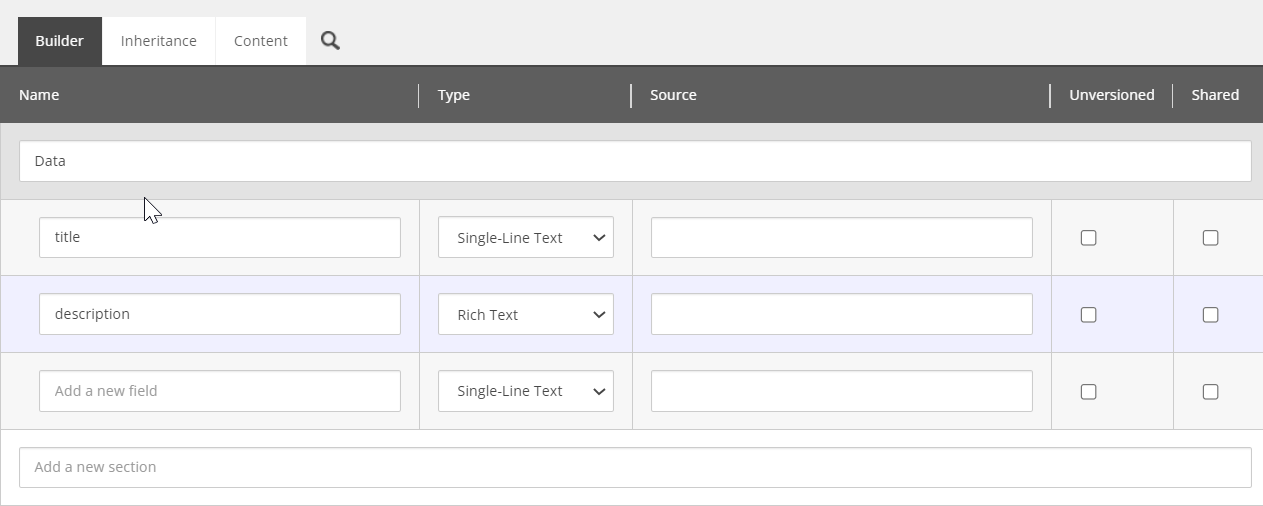
Create the Datasource template for the component under your preferred folder under the Templates node. In my case, I will be creating it under the jssproject Project folder.
Add the fields as needed. Make sure to use camelCase for the names of the fields. This is a standard needed for the fields to be used in your Next.js rendering solution. We can later add user-friendly names in the Title field for the individual field items.
Create a JSON Rendering under your preferred folder under the Sitecore renderings folder. (/sitecore/layout/Renderings). In my case, I will be creating it under the jssproject Project folder.
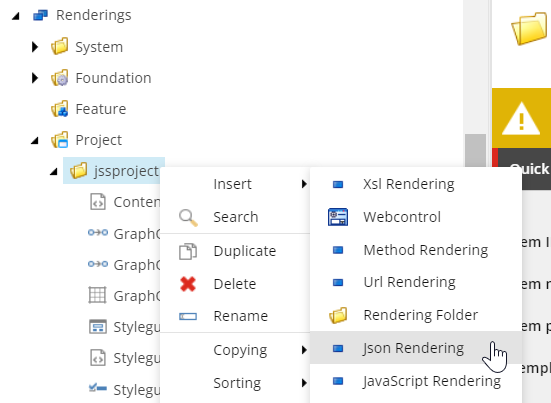
Name the component as per your preference, I will be calling it Sample-Component in my example. Here are a few things I noticed with the naming of the component:
Try avoiding spaces in the name of the component.
You can use a hyphen as a separator instead.
The mapping will be case-sensitive. So, remember to use the same name for your component in the front end in the later steps.

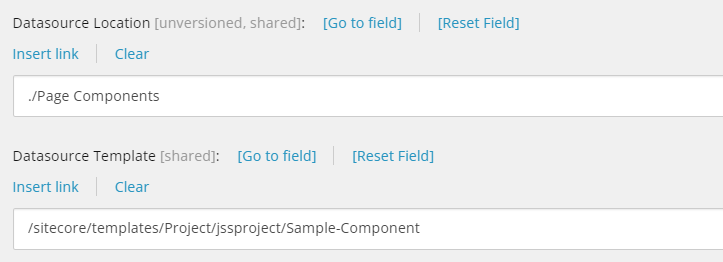
Select the template created earlier as the Datasource template and set Datasource Location to './Page Components'.
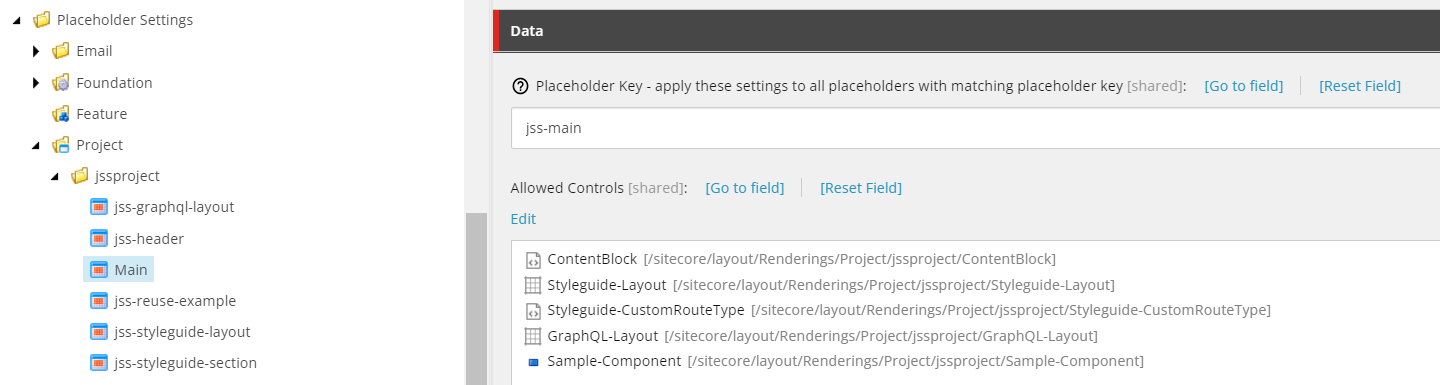
Now we'll need to add this component in the Allowed Controls of the Placeholder settings for the jss-main placeholder. You can find the Placeholder Settings items under the Placeholder Settings folder. (/sitecore/layout/Placeholder Settings)
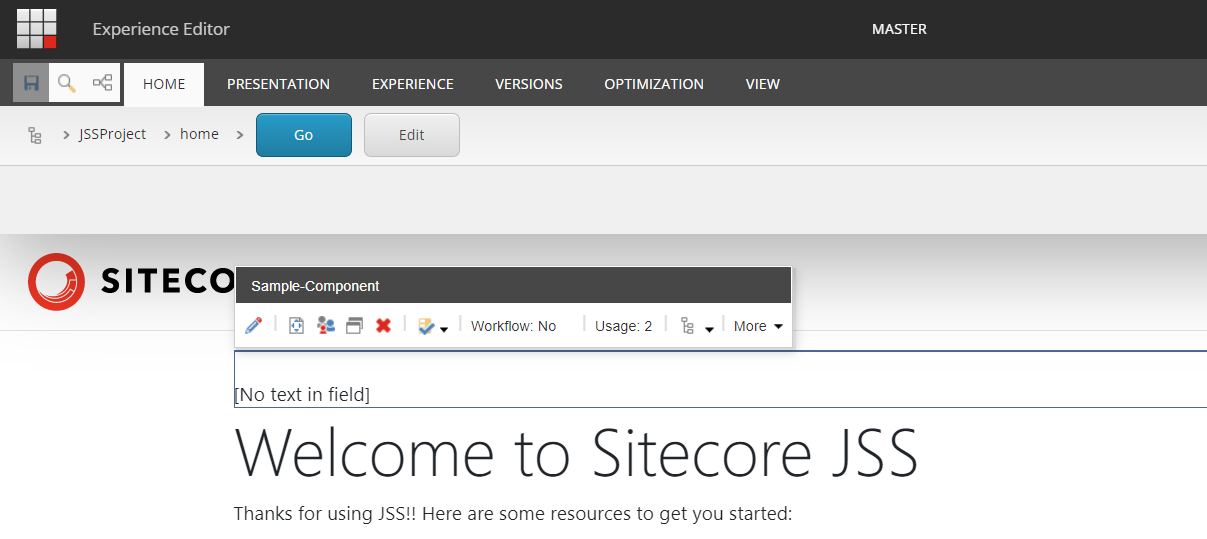
Let's open the home item under the Project site in the Experience Editor and try to add the component.
Add the component in the Experience Editor and create a new datasource for the component.
When added you should see an error like below in the Experience Editor.
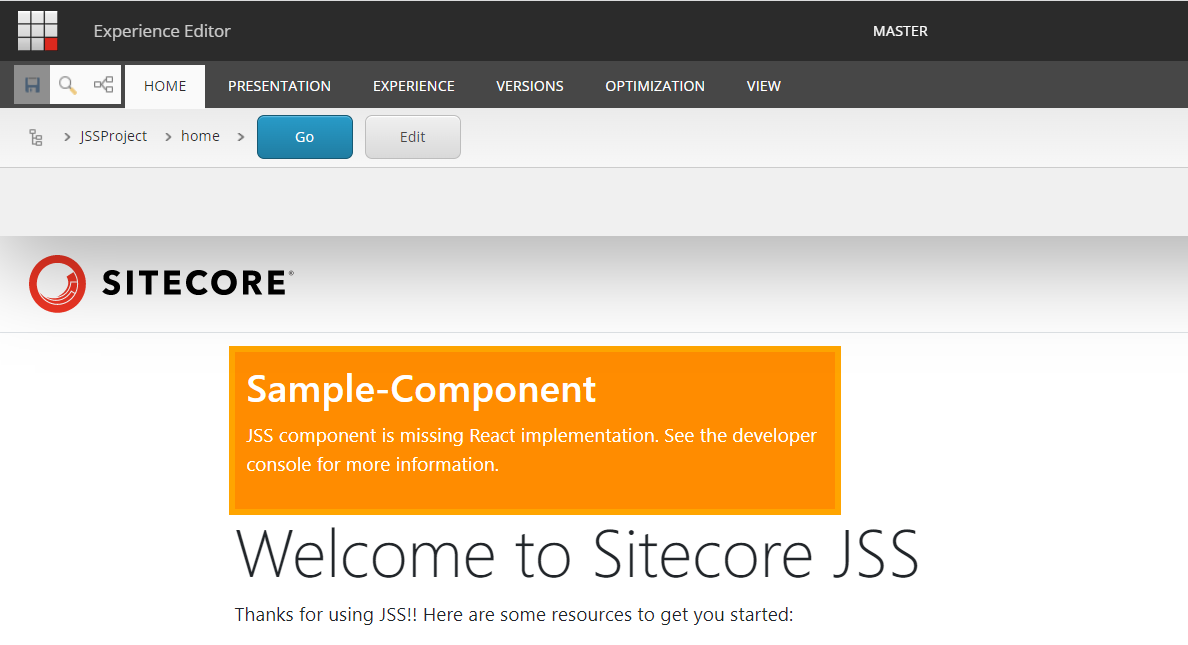
It's time for us to create the component in the Next.js solution.
Creating the component in the Next.js solution
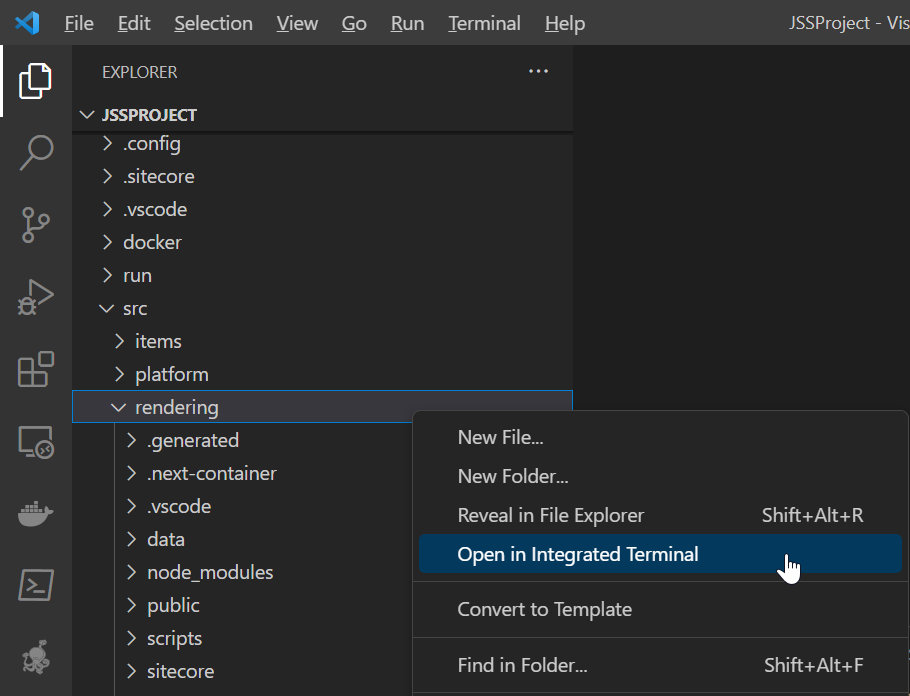
Open your project root in VS Code.
Go to the rendering folder in the solution, right-click, and select Open in Integrated Terminal.
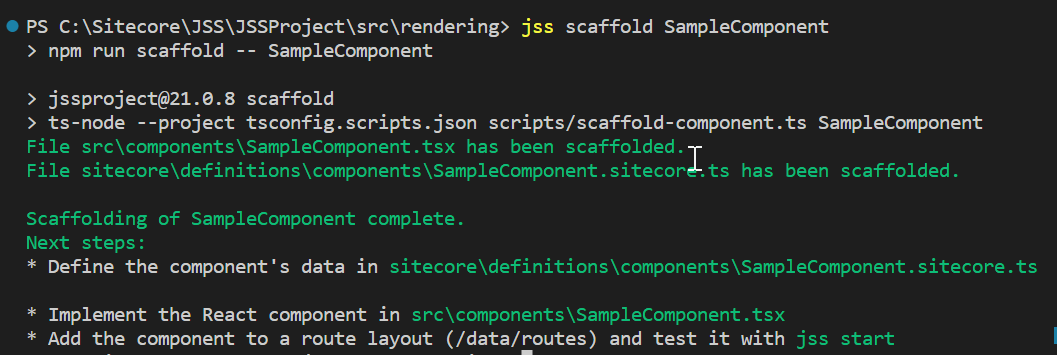
Run the following command on the terminal.
jss scaffold SampleComponentNotice that we have omitted the hyphen in the command. I tried using the hyphen, but it resulted in a lot of errors in the generated files.
This will generate 2 files in the project.- SampleComponent.tsx: The component View definition.- SampleComponent.sitecore.ts: The component data definition is to be added to the disconnected manifest. This data is used in the disconnected development mode.
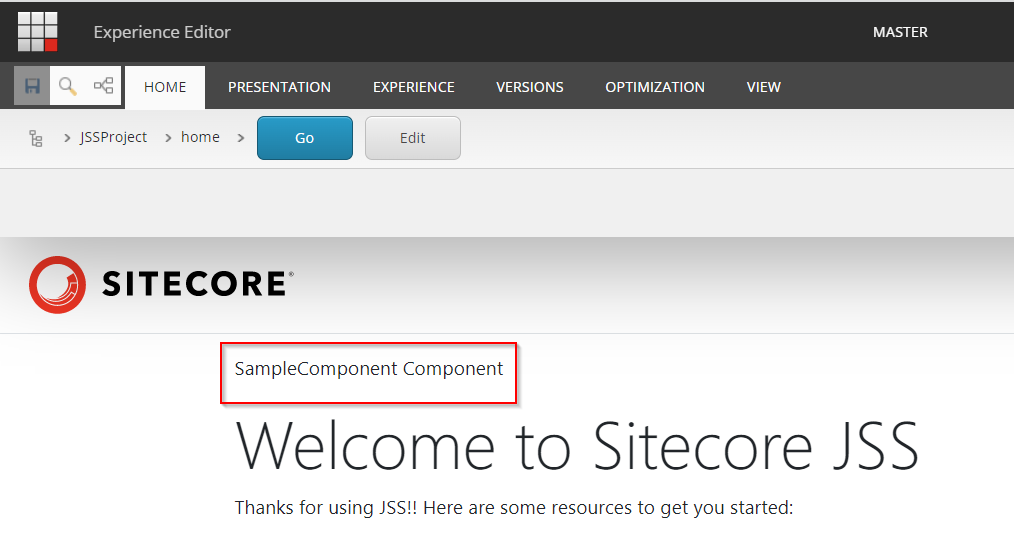
This should automatically refresh your experience editor. But, you would notice that the error earlier will still be there. Now, rename the file generated, src\components\SampleComponent.tsx to src\components\Sample-Component.tsx.
This should automatically refresh your Experience Editor, and the error should not appear anymore. You will see the default text from the component.
We will change the implementation of the component to show the values in our datasource. Change the code to as below in the file src\components\Sample-Component.tsx.
import { Text, Field, withDatasourceCheck, RichText } from '@sitecore-jss/sitecore-jss-nextjs';
import { ComponentProps } from 'lib/component-props';

type SampleComponentProps = ComponentProps & {
  fields: {
    title: Field<string>;
    description: Field<string>;
  };
};

const SampleComponent = (props: SampleComponentProps): JSX.Element => (

    <Text field={props.fields.title} />
    <RichText field={props.fields.description} />

);

export default withDatasourceCheck()<SampleComponentProps>(SampleComponent);
After this change, the component will show with editable fields.
Congrats, You have created your first component in a Sitecore JSS with Next.js solution.
These next steps are not mandatory, but make these changes to keep the code consistent.
Rename the file generated, SampleComponent.sitecore.ts to Sample-Component.sitecore.ts.
Change the name of the component and the fields.
// eslint-disable-next-line no-unused-vars
import { CommonFieldTypes, SitecoreIcon, Manifest } from '@sitecore-jss/sitecore-jss-dev-tools';

/**
 * Adds the SampleComponent component to the disconnected manifest.
 * This function is invoked by convention (*.sitecore.ts) when 'jss manifest' is run.
 * @param {Manifest} manifest Manifest instance to add components to
 */
export default function SampleComponent(manifest: Manifest): void {
  manifest.addComponent({
    name: 'Sample-Component',
    icon: SitecoreIcon.DocumentTag,
    fields: [
      { name: 'title', type: CommonFieldTypes.SingleLineText },
      { name: 'description', type: CommonFieldTypes.RichText },
    ],
    /*
    If the component implementation uses <Placeholder> or withPlaceholder to expose a placeholder,
    register it here, or components added to that placeholder will not be returned by Sitecore:
    placeholders: ['exposed-placeholder-name']
    */
  });
}
Feel free to comment with your feedback, questions, or suggestions. :)
Happy Sitecoring!