Setting up Sitecore Habitat Home for Sitecore 9.3
Sitecore Habitat Home
Habitat Home is intended as a demo site demonstrating the full Sitecore platform capabilities and development best practices. Habitat Home cannot be used as a starter kit for a Sitecore project.
The latest Habitat Home is built over Sitecore Experience Platform 9.3 and Sitecore Experience Accelerator 9.3.
Prerequisites
Install Sitecore Experience Platform 9.3, with SXA included. SIA can be used for installing both Sitecore XP 9.3 along with SXA. Refer to my previous blog for instructions on Sitecore 9.3 installation with SIA.
As the demo is built for HTTPS/SSL only, ensure that your 9.3 instance is running on HTTPS with the certificates configured appropriately.
Download and install MSBuild for Visual Studio 2019, ignore if you have VS2019 installed locally.
Clone the Sitecore Habitat Home Repository
Clone the Sitecore.HabitatHome.Platform repository locally.
Defaults are configured for C:\Projects\Sitecore.HabitatHome.Platform.
Use the following commands for cloning :
https:
git clone https://github.com/Sitecore/Sitecore.HabitatHome.Platform.gitssh:
git clone git@github.com:Sitecore/Sitecore.HabitatHome.Platform.gitDeploying HabitatHome locally
In the Sitecore.HabitatHome.Platform folder, open the cake-config.json file.
Modify the parameters in the file as per your configurations.
{
  "WebsiteRoot": "C:\\Inetpub\\wwwroot\\sc93sc.dev.local",
  "XConnectRoot": "C:\\Inetpub\\wwwroot\\sc93xconnect.dev.local\\",
  "InstanceUrl": "https://sc93sc.dev.local",
  "SolutionName": "HabitatHome.sln",
  "ProjectFolder": "C:\\Code\\Sitecore\\Sitecore.HabitatHome.Platform",
  "UnicornSerializationFolder": "C:\\Code\\Sitecore\\Sitecore.HabitatHome.Platform\\items",
  "BuildConfiguration": "Debug",
  "BuildToolVersions": "VS2019",
  "RunCleanBuilds": false,
  "MessageStatisticsApiKey": "97CC4FC13A814081BF6961A3E2128C5B",
  "MarketingDefinitionsApiKey": "DF7D20E837254C6FBFA2B854C295CB61",
  "DeployExmTimeout": 60,
  "PublishTempFolder": "c:\\Deploy",
  "version": "9.3.0",
  "CDN": "false",
  "SitecoreAzureToolkitPath": "c:\\sat"
}
The following parameters have to be modified
WebsiteRoot: Replace it with the root folder path of your local Sitecore 9.3 instance.
XConnectRoot: Replace it with the root folder path of your local Sitecore 9.3 xConnect.
InstanceUrl: Replace it with the URL of your local Sitecore 9.3 instance.
ProjectFolder: Replace it with the path of your Habitat Home Project Folder.
UnicornSerializationFolder: Replace it with the path to your items folder, in the Habitat Home Project Folder.
Open Powershell as Administrator.
Change Directory to the Project Root folder and run .\build.ps1 (or simply .\build).
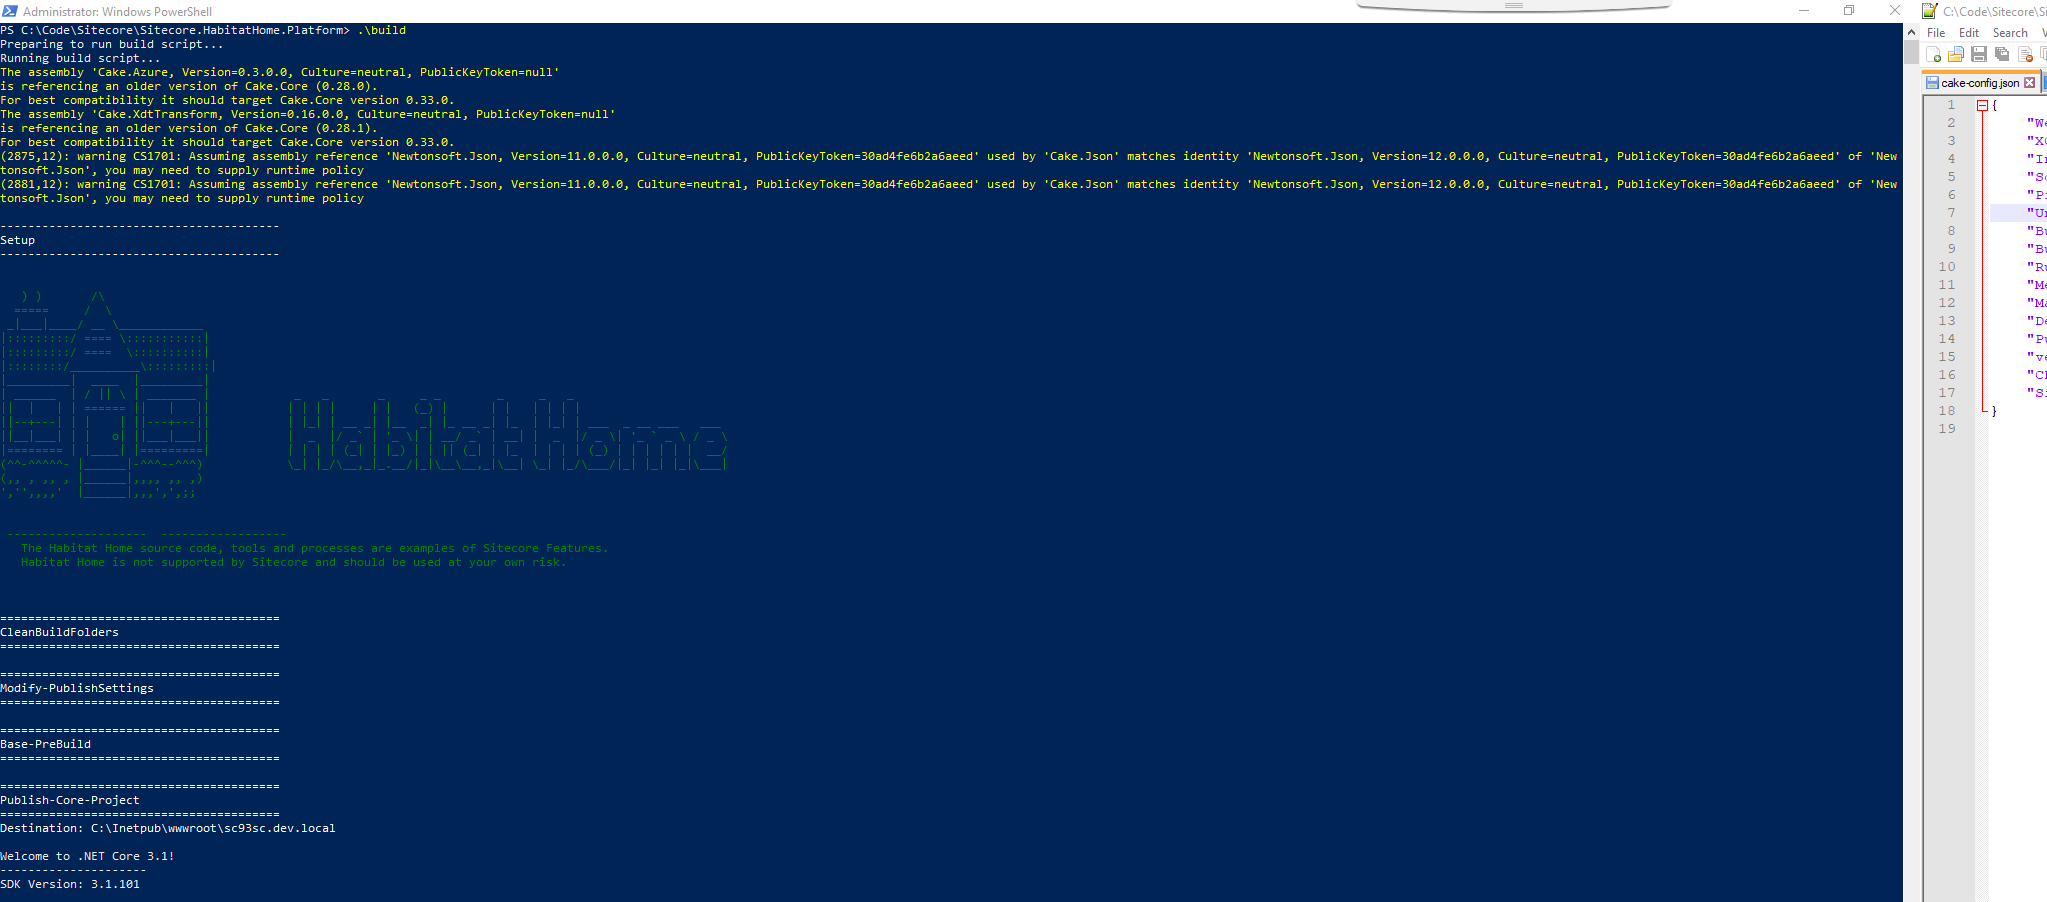
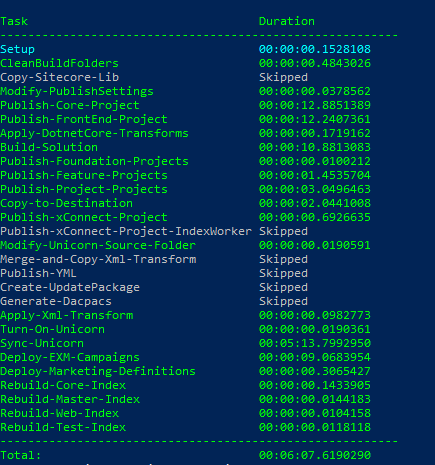
The script will perform the following steps for you :
Publishes all the projects in the solution.
Publishes all the front-end projects.
Publishes the xConnect projects.
Deploys EXM campaigns and Marketing Definitions.
Performs a Unicorn Sync.
Rebuilds all your indexes
After the execution of the script completes, the script also shows you the duration taken by each of these tasks.
Open your Sitecore 9.3 instance in the browser to see your Habitat Home instance.

The build process is powered by Cake Build, and can also be used to deploy to a Docker instance. The whole process is powered by Powershell, so no more gulp issues.
References
Sitecore Habitat Home GitHub Repository - https://github.com/Sitecore/Sitecore.HabitatHome.Platform.